Using LASS: Store Layout Creator
In this post, we teach you how to use the system to build a model of your store within the LASS system.
Store Layout Creator
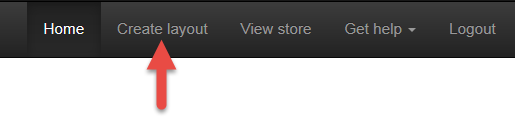
The first step on the web-side of the LASS system that any user would take would be to set up their store layout using the Store Layout Creator. This can be accomplished by clicking on the ‘Create Layout’ link on the navigation bar.
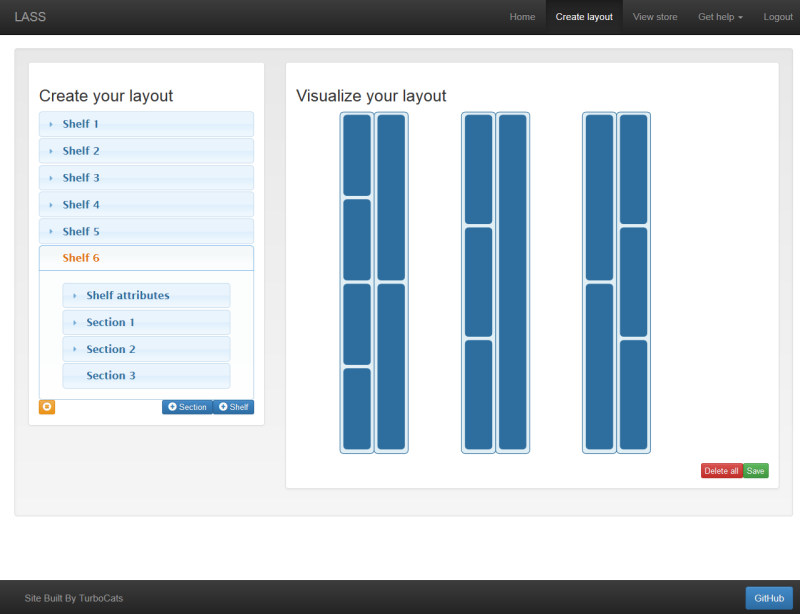
This brings up the Store Layout Creator, which is shown below:
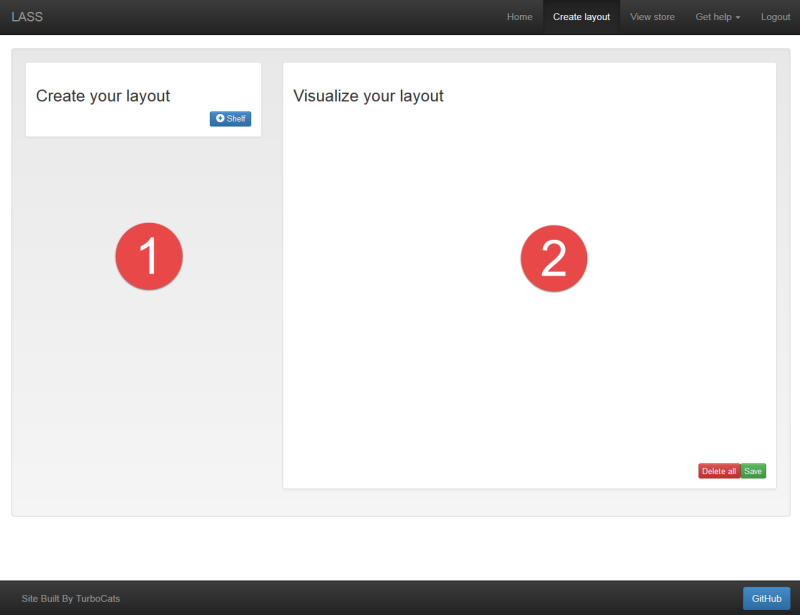
Notice that the user interface is split into two sections. The left section, labelled 1, is where you can configure the details of store layout.
The right section, labelled 2, is where you will see the visual representation of your store model created. This is updated in real time to reflect the changes you make to your layout.
To get started, click the ‘+ Shelf’, which will add a shelf to your store.
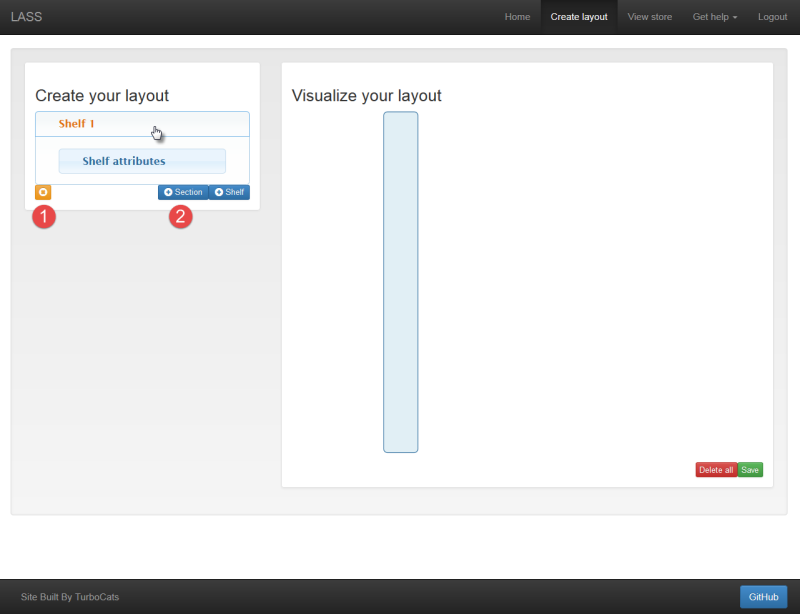
You will notice that a new panel, called an accordion, is added to the left section of the screen. This accordion can be opened and closed by a simple mouse-click. Accordions are used to keep the interface organized and accessible without the need for excessive scrolling. You will notice that the accordion contains a smaller accordion within it, called ‘Shelf Attributes’. This is automatically generated with each shelf, so that you can give some characteristics to the shelf as a whole.
Also within the left section, you will see that two new options have become available. The first, labelled 1, is the remove button. This allows you to remove whatever is currently selected from your store layout. In the screenshot above, clicking the remove button would remove ‘Shelf 1’ from your layout.
The second new option, labelled 2, is the ‘+ Section’ button. This is used to organize content on your shelf. For example you may have an shelf in your store dedicated to pet food. This may be split up into dog food, cat food, toys, and bird seed.
In addition to changes in the left panel, you will notice that a new shelf has appeared in the right section. It looks pretty bare-bones right now, but don’t worry, we are about to make things more interesting!
Lets go ahead and create some section for our pet food aisle by clicking the ‘+ Section’ button four times.
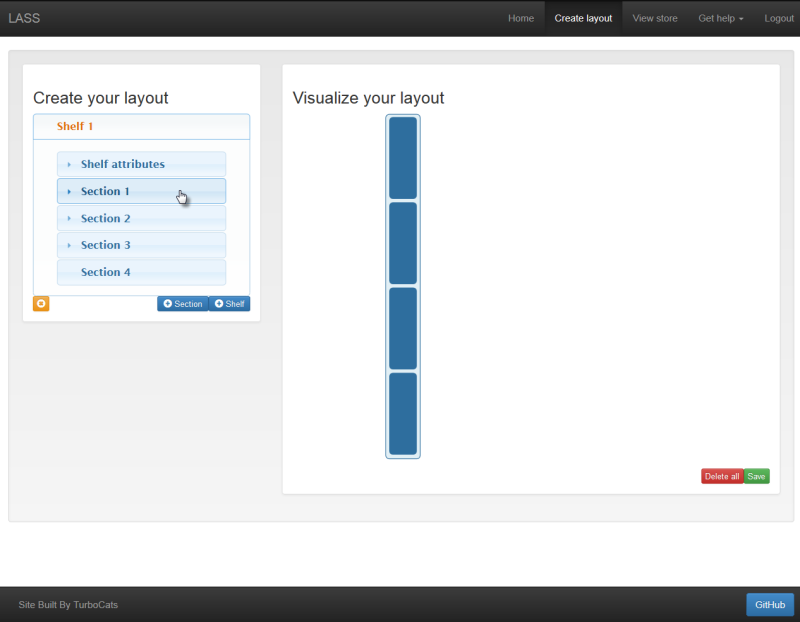
As you have probably come to expect, section elements are added to the left section of the screen, and visualized on the right. From this point we can open on of the sections and add some details about it.
Although the right section is mostly for visualization, it also allows you to easily select jump to the details of a specific section of a shelf. If you click the element shown in the screenshot above, Section 1 of Shelf 1 will open. Let’s try that now.
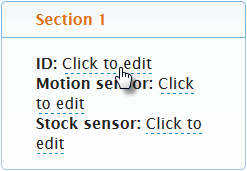
We want to create an aisle for all of our pet products. For now, let’s give each of the sections an ID. Just click to enable editing, type in the desired name, and press enter to confirm. If you decide you don’t want to change the text in this box, you can either click outside of the box or press ESC.
With our Dog Food, Cat Food, Toys, and Bird Seed sections created, we have a good start on creating a model for our store. By combining all of the concepts shown here, we can flesh this out to a few aisles shown.
Alright! We have a pretty nice looking store. When you are working in the Store Layout Creator, any changes you make are temporary until you choose to save them to the database. If you take a look at the bottom right hand side of the Store Layout, we can see buttons for ‘Save’ and ‘Delete All’. Simply click the ‘Save’ button and your layout will now be available to use and update as you see fit. If you make changes that you are not happy with, you can reload the page and you will be brought back to your last save state. If you want to scrap the whole thing, press the ‘Delete All’ button and start again!
The next step of using the system is to link the store sections to the sensors you have set up in your store. If you would like an explanation of how these systems work together, check out Using the Data Model.
Linking a sensor to a section is as easy as adding the URL of the datastream into the motion sensor text feild. For example, we can add a motion sensor to the ‘Dog Food’ section as follows:
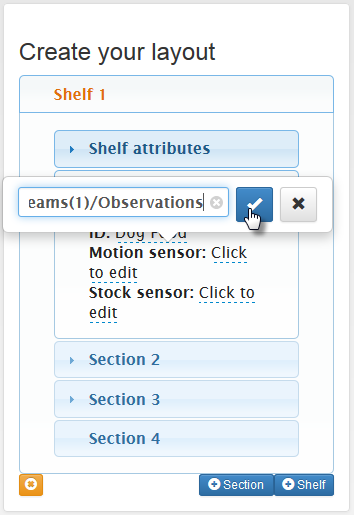
Linking a stock sensor is done in the same way, just use the stock sensor text field instead. After adding all of your sensors, your store model will be ready to use. Don’t forget to save your changes before exiting!
